4 min read
How do you rebuild or overhaul a small engine carburetor?
Rebuilding the carburetor may be required if basic adjustments don’t fix your small engine problems or improve performance on your lawn mower or...
1 min read
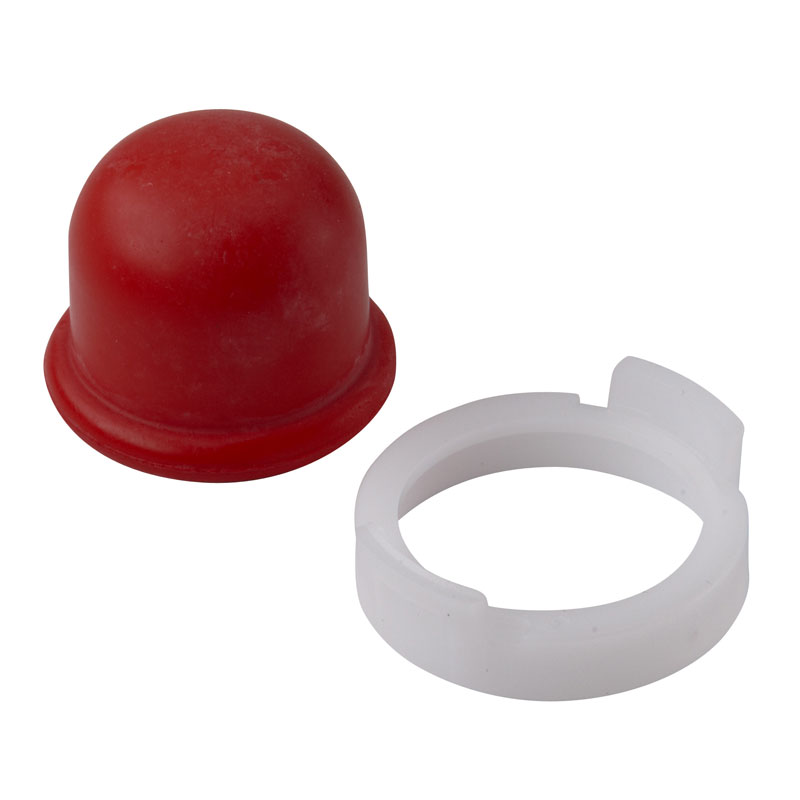

A primer bulb is important because it is helps to fill the carburetor with the correct amount of fuel. It does this by pulling fuel through the fuel line.
You may need to fix or replace your primer bulb if:

WARNING: Always read the engine and equipment manual(s) before starting, operating, or servicing your engine or equipment to avoid personal injury or property damage. Fuel and its vapors are extremely flammable and explosive. Always handle fuel with extreme care.
See an authorized dealer or contact Briggs & Stratton if you are unsure of any procedure or have additional questions. Find all Engine Safety Warnings.
Still need help? Contact a Briggs & Stratton dealer for assistance.
4 min read
Rebuilding the carburetor may be required if basic adjustments don’t fix your small engine problems or improve performance on your lawn mower or...
2 min read
It can be frustrating when your lawn mower or small engine starter won’t engage, but there are solutions you can take to prevent and correct...
4 min read
Having engine problems? Use this comprehensive guide when troubleshooting issues with your lawn mower, snow blower or other outdoor power products...